Rangoli Ladoos

Diwali has always been a special festival growing up in my family… in fact for most Indian families.  It’s the Festival of Lights, where we celebrate faith and hope and wish that everyone has a bright future, happiness and prosperity in their lives.

Everywhere you look, Diwali takes over with lights and colors.  Rangoli designs are a prominent component of Diwali, with the idea that it brings strength, good luck and genorosity.  Keeping in mind that very foundation of colors and brightness, I decided to bring the spirit of rangoli to my mithai (sweets) for Diwali this year.


Coconut ladoos are very popular in Indian and the best part is, they are very easy to make.  The basis of each ladoo was kept the same with the main ingredients being coconut, almond flour/ground almonds, and condensed milk.  The ratios vary based on the flavor and additions of the ladoo.

Here are the flavors I decided to go with:

  • Mango (seriously, how could I not include this flavor?!)
  • Lavender (because it’s a new obsession and the flavor and colors are so amazing!)
  • Rose (the colors, the fragrance, and the taste are so pretty, it makes me feel like a princess when I’m eating this!)
  • Mojito (…..yep.  No alcohol, but that hint of lime and mint….YUM!)
  • Coconut Almond (the original cannot be overlooked!)


Some tips to make it easier for you when you make this:

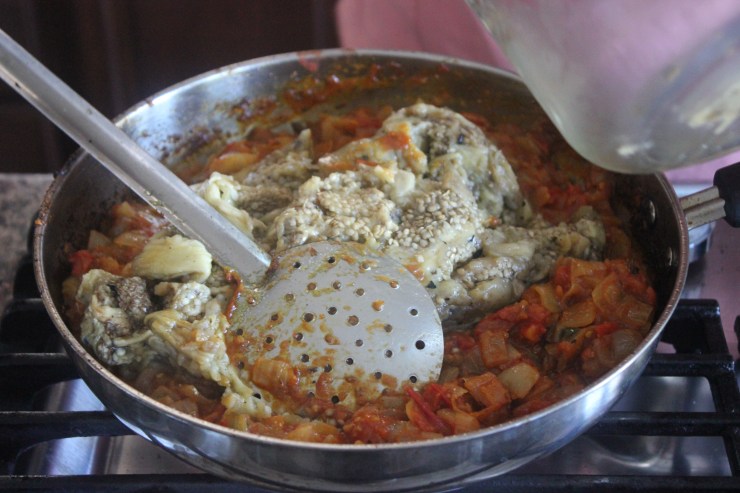
  • Use a non-stick skillet to make these.  It prevents the mixture from sticking and makes the process that much easier.
  • Make them vegan!  Use vegan condensed milk and coconut oil instead of ghee to roll the balls.
  • You can use frozen grated coconut.  Just leave it out for a little bit to thaw and bring to room temperature.
  • If you don’t want to use or don’t have almond flour available, substitute with the same amount of almonds and grind them up into a flour.  It’s an extra step but easy and a perfect swap.
  • When buying almond flour, make sure you buy the almond flour and NOT the blend.  I almost did that.  The blend has a mixture of rice and other ingredients that would change the taste of this dessert.


If you end up making any of these delicious ladoos, don’t forget to tag me on Instagram at @bitofspice146.  I would love to see your creations!

Garlic Herb Pizza Dough

Dough just before it’s smoothed and oiled to set aside so it can rise

Pizza is one food my girls are very picky about.  I know… I was surprised too!  Usually, kids love pizza but my oldest decided she didn’t like pizza after having it at 7 different birthday parties in a span of 1 month.  I get it, I totally do.  I would be tired of it too!

For me, pizza is the ultimate go to with unlimited toppings and variations.  I didn’t want Sanaya to feel an aversion for one of the most loved foods on this planet so I stepped in.  After trying so many different pizzerias, I finally decided to make it at home.

Obviously could not wait to eat this….!

This Garlic Herb Pizza Dough is so delicious and light.  When the dough is rolled out, it’s not too thick and makes for a nice flatbread.  Some days, I will roll it out into 1 large pizza and others, I’ll get the girls involved and have them decorate their own personal pizzas.  Either way, you can’t go wrong with this delicious garlic-y, herb-y pizza dough!

Try it out!  It is so delicious!
From my kitchen to yours, enjoy your pizza party!

Baingan Bharta (Punjabi Eggplant)

If you’ve been reading my blog, you know that growing up I was not an eggplant fan.  So why am I posting 2 recipes (Baba Ghanouj and this one) with eggplant within a month?  They became a part of my adult life and I learned what I was missing out on.
IMG_7788
I’m not sure about the timeline but I do remember maybe a few months after I got married, we had gone down to see my in-laws for the weekend.  Mom had made baingan bharta and I was trying to be nice so I ate it without telling her I was not a big fan of eggplant.  It was ingrained in me since I was a kid that you ate what you got, especially at someone else’s house without a fuss.  Man am I thankful for that specific rule!
IMG_7799
Though I took maybe only about a tablespoon’s worth (and spread it out so my MIL wouldn’t notice – yep…. totally resorting to childhood antics), baingan bharta became a new favorite of mine.  Since then, I have tried it at various restaurants and at home but nothing compares to the way my MIL makes it.  This recipe is hers and I’m excited to share it.
IMG_7775
Notes:
Try to pick eggplants with fewer seeds as this will give you more flesh and will be less bitter.  Male eggplants tend to have fewer seeds and to tell the difference, at the bottom of the eggplant, there will be an indentation.  If it is deep and shaped like a dash, the eggplant is female, if it is shallow and round, it is a male.
IMG_7778
If you do end up with an eggplant with more seeds, after roasting the eggplant, don’t skin it right away.  Let the eggplants sit on a tray and continue steaming to soften the seeds.
IMG_7758
You can store the roasted eggplant in the fridge for up to 3 days or in the freezer for up to 1 month.

From my Mother-in-Law’s kitchen to yours, we hope you enjoy this one!

Homemade Paneer

Paneer is a staple in any Indian household.  It is so versatile, the possibilities are endless.  I’ve marinated it in Roasted Cilantro Mint Chutney and grilled it over the BBQ, you can also grill it and use it as an addition to a salad, make Paneer Cabbage Cups, Matar Paneer, and most famously known Palak Paneer.
IMG_7724
It may sound daunting but making paneer at home is actually very easy.  There’s literally 2 ingredients involved – milk, and an acidic agent to separate the curd.  I like homemade better than store bought because you can choose which type of milk you want (low-fat or full-fat) and there are no preservatives like in the store bought ones.
IMG_7729
How to make paneer at home:
Step 1: Boil the milk
wp-1594759805429.jpg
Step 2: Add in your acidic agent and keep stirring to help the solids separate from the whey
wp-1594759805625.jpg
Step 3: Drain the whey so you have just the solids left over
wp-1594759805651.jpg
Step 4: Rinse the solids to remove smell and taste of acidic agent
wp-1594759805682.jpg
Step 5: Squeeze out excess water and hang the paneer to remove moisture
wp-15947598063348295635027067768567.jpg
Step 6: Mold the paneer into desired shape
IMG_7724
Step 7: Remove the block of paneer from the cheesecloth and use as desired
IMG_7730
Notes:
1. I suggest double lining the cheesecloth so that it is more sturdy and holds the paneer well when draining. This is the cheesecloth that I use and love!
2. Acidic agents that can be used are lemon juice or vinegar.  I’ve found vinegar works better with curdling the solids without leaving behind a tart taste in the paneer
3. Keep the acidic agent close by so you can use it as soon as the milk is ready so it doesn’t boil over.
4. If you need to add more acid, add a teaspoon at a time.  Adding too much can make the paneer rubbery

From my kitchen to yours, I hope you have fun and enjoy making your own paneer!

Bhinda Bataka nu Shaak / Okra Potato Sabzi

Growing up, my mom would make traditional Gujarati food for dinner most days.  My brother and I loved eating a Gujarati thaali (not all the time) and one of my favorites was Bhinda Bataka nu Shaak.  The crunchy exterior of the potato that’s just soft enough to melt on the inside and the crispy okra to finish off the dish is just the perfect reminder of home to me.
IMG_7418
Yum

When I made this dish, I was so excited to share my love for it with kids.  I’ll be honest though, they didn’t take to the okra which broke my heart.  Sort of.  They ate the potatoes though.  But I’m going to keep trying to share my love of okra and hope one day they do like it as much as I do.
IMG_7441
But okra is so slimy!

Trust me, I know!  So my hack…. use frozen or pre-cut okra.  And fresh squeezed lemon juice.  Wait, what?  Yep, lemon juice helps break down the slime without turning your veggies into mush.
IMG_7434
Want to know something even more cool?  The “slime” (known as mucilage) actually contains soluble fiber.  Here are a few more benefits of eating okra:

  • High in antioxidants such as beta-carotene, xanthin, and lutein
  • Good source of Folate
  • Good source of Vit. C, Vit. A, and Vit. K
  • Good source of Non-Dairy Calcium, Iron, Manganese, and Magnesium

So try this delicious sabzi for your next Gujarati thaali.  It’s delicious and healthy and so easy to make.  Try it out!
IMG_7421
From my kitchen to yours, I hope this dish brings you the joy it brings me.