Turkey Bolognese Sauce

This Turkey Bolognese Sauce is a thick, delicious, and hearty sauce made with simple ingredients.  It’s a healthier take on an authentic recipe, each bite is so rich and flavorful.
Continue reading “Turkey Bolognese Sauce”

Cranberry Balsamic Glazed Turkey Meatballs

Cranberry Balsamic Glazed Turkey Meatballs are sticky, sweet, and moist.  Lean ground turkey is seasoned with parmesan cheese, herbed breadcrumbs, garlic, fresh rosemary, and a little orange zest.  They are then coated with luscious glaze made with cranberry sauce, balsamic vinegar, honey, fresh rosemary, orange juice, and soy sauce.  Mini meatballs are the perfect appetizer for any dinner or holiday party.
Continue reading “Cranberry Balsamic Glazed Turkey Meatballs”

Citrus Herb Salmon with a Mango Pico and Cilantro Lime Rice

It doesn’t get any tastier (or easier) than this delicious Citrus Herb Salmon topped with a sweet and spicy Mango Pico on a bed of Cilantro Lime Brown Rice.  Ready in 30 minutes (yep, even the brown rice), this is the perfect healthy meal to serve your family.  Continue reading “Citrus Herb Salmon with a Mango Pico and Cilantro Lime Rice”

Blackened Fish Tacos with a Garlic Sriracha Aioli

It’s BBQ season and though I love grilling the traditional burgers and hot dogs, I wanted to get away from the usual and do something different.  These Blackened Fish Tacos are perfect with a Garlic Sriracha Aioli.  A flavorful rub, crunchy carrot and cabbage slaw, the aioli to cool things down a bit and the jalapeños to add just a kick at the end of each bite is the perfect summer combination for me.

These fish tacos are a great example of a healthy-ish meal.  I’ve made them so many times before and they are such a hit that by the time the fish is grilled and chopped, the tacos are made and I don’t have anything left to take pictures because it’s all eaten!  I finally made some for a BBQ with my friend Michelle and her family but told them they had to wait after I made them so I could take pictures – seriously she is such an awesome friend to put up with me making her stare at her food while I’m clicking away!

WHAT FISH DO I USE?
I like to use white fish, usually tilapia or cod.  When you are at your grocery store, just ask your fishmonger for their best wild caught (and sustainable is available) white fish.  I’ve used both tilapia and cod for this recipe and both turn out delicious for the end result.

WHAT ELSE DO I NEED?
I keep the slaw simple to let the flavors of the rub on the fish and the aioli shine.  All I did for the slaw is shred some carrots and mix it in with finely chopped purple cabbage, a little salt, pepper, some honey, and a squeeze or two of lime juice.  So simple right?!

For the Aioli, I spent a little more time developing the flavors.  I roasted garlic, used yogurt instead of sour cream to make it healthy-ish, mix in some lite mayo (this is the “ish” addition to the healthy part), add in a bit of sriracha, and again a squeeze of lime juice to pull it together.

For toppings, again, keep it simple with a garnish of chopped cilantro and sliced jalapeños.

So, don’t wait!  For your next BBQ night, dinner party, or Taco Tuesday, try out these delicious Blackened Fish Tacos with a Garlic Sriracha Aioli.

Here are the tools I used to make this recipe:


One Pan Baked Salmon and Rainbow Veggies

This one pan salmon is perfect for a busy weeknight meal.  Ready in 15 minutes, it’s a nutritious meal the whole family will enjoy!

I love the idea of using just one pot or a pan.  Not only is cleanup easy but you don’t spend forever in the kitchen cooking after a long hard day of work.  Don’t get me wrong, the kitchen is my happy place.  But weeknights are crazy when the kids are hungry and don’t have the patience to wait for me to cook an elaborate dinner.

My favorite part is that the girls eat the rainbow veggies I add on the side.  The colors look so pretty and the girls love their rainbows as much as I do.  Chopping the veggies and seasoning them doesn’t take very long and adding that glaze on the salmon with a little honey and mustard mix is perfect to brighten up the salmon.

I kept the seasoning for the veggies pretty simple – salt, pepper, and a little dried oregano.  Why?  Because I want the salmon to shine too.  The veggies have their color that attracts you to them so the salmon should have something too, right?  The glaze is very easy to make.  Just mix a little dijon mustard, honey, garlic, and of course fresh squeezed lemon juice.  Brush it on to the salmon and voila!  All that is left to do is bake!

From my kitchen to yours, I hope you enjoy this easy and delicious One Pan Salmon with Rainbow Veggies!

Here are the tools I used for this recipe:


Mahi Mahi with Garlic Lemon Sauce

If I gave my youngest Fish and Couscous everyday for the rest of her life, I wouldn’t hear a single complaint.  She loves it that much and we usually have it on the menu biweekly.  The Garlic Lemon Sauce is absolutely finger licking delicious!  Paired with a flaky and tender Mahi Mahi, well, you will also be adding this fish to your rotation.

Everyone says eating fish is healthy and to incorporate it more in your diet.  But why?  Here are few good reasons why:

  • Fish are high in Omega-3 fatty acids which help lower cholesterol and heart disease
  • Rich in Iron
  • Rich in Vit. B which promotes healthy brain function
  • Rich in Potassium which promotes a healthy heart


Fish can be tricky to cook sometimes because it is very easy to overcook leading to a tough meat (trust me, I’ve done this on many occasions).  A few tricks I rely on to serve the best flaky fish are:

  • Be sure your filtes are about 6-7oz each, with at least 1-inch thickness. If your portions are thin or too small, they’ll tend to overcook.
  • Always pat dry excess moisture from the fish; this step is super important, as it affects how well your fish will brown. A paper towel works wonders
  • Buy fresh or quick-frozen, high quality fish… wild is best, and will provide best flavor.

Don’t know what to serve your delicious Mahi Mahi with?  Check out some of these dishes:
Quinoa, Brown Rice and Black Beans
Fresco Carpaccio

From my kitchen to yours, I hope you enjoy this delicious Mahi Mahi with Lemon Garlic Sauce!

Here are the tools I used:

Pistachio and Goat Cheese Crusted Spicy Lamb Chops

If I know my husband, then I’m definitely going to be making him happy with my Valentine’s Day surf and turf meal.  Yesterday, I featured the Lobster Risotto as part of my love week series for the surf part.  Today, I’m going to share with you lamb chops, one of my husband’s favorites!

I think this is one of the easiest recipes but one that also looks pretty fancy.  Before I give you the recipe, I’m going to share with you a few tips to ensure your lamb chops turn out just as amazing!

BUYING THE LAMB CHOPS
Lamb chops are typically bone-in meat chops, typically taken from the rib of the animal. They are loaded with flavor, tender, and cook very quickly, typically within 10-12 minutes depending on thickness and your preference of cook on the meat.  Some recipes call for chops to be frenched, which is simply removing the fat from the bone for a cleaner look.  If that’s the case, you can either clean away the fat at home or being lazy like me, you can as your meat butcher to french the chops for you.

WHY MARINATE?
Marinating any meat, especially dark meat, helps to tenderize it.  This in turn will lead you to have a softer, richer tasting lamb.  You can marinate the lamb chops as little as 30 minutes up to overnight.  For this recipe, I marinated the lamb for 2 hours as it was mostly dry spices and oil.  When I make my Lamb Tagine, I usually marinate the lamb overnight as it will be part of a stew so I want it ultra tender.

COOKING
Lamb chops typically don’t need very much time to cook which is one of the best part about cooking them.  I like to do 8-10 minutes for medium rare and 10-12 minutes for medium.  Don’t forget to let them rest for an additional 10 minutes because they tend to continue cooking even when pulled out of the oven or off the stove. The outside food is always hotter than the inside, and heat slowly transfers inward, continuing to cook the food even after it has been removed from the heat source, hence carryover cooking.  Always check the temp with a food/meat thermometer to make sure it is cooked: 125°F (51°C) for medium-rare, or 135°F (57°C) for medium.

So now that you armed with all of my information to make the best lamb chops, I’m going to share this amazing recipe.  I paired my chops with Jeff Mauro’s 4 Cheese Polenta and roasted rainbow carrots.  Other grains that would be delicious with these lamb chops would be Couscous or Farro.

From my kitchen to yours, I hope you enjoy this delicious Lamb Chop and have a very special Valentine’s Day!

Here are the tools I used for this recipe:


Lobster Risotto

Creamy risotto filled with chunks of freshly steamed lobster, oh it’s so luscious!  This is the perfect dish for a romantic night in or Valentine’s Day dinner!  It’s pretty easy, and simple to make and perfect for date night!

When my husband found out I was making Lobster and Lamb for Valentine’s, I can safely say he was beyond excited.  Surf and Turf can never go wrong!

For the risotto, as long as you have a little patience, it’s actually very easy.  The creamy texture with added asparagus spears, peas, and garnished with some fresh chives is absolutely divine!

Stay tuned for the lamb recipe for the turf portion of this delicious V-Day meal! In the meantime, I really hope you enjoy this luscious Lobster Risotto!

Fish Tikka Masala

Fish is a big staple in our home and I try to make it at least once a week for the girls.  This Fish Tikka Masala is a great way to incorporate fish and the Indian flavors.  I actually was able to make it in 30 minutes which I was surprised about.  There is a little multitasking involved but don’t worry, I’ll walk you through it.

What is Fish Tikka Masala?  Tikka basically indicates that there are going to be pieces of meat that are either pan seared or tandoor baked. Before searing the fish, I first let it sit in lemon juice to tenderize the meat, then I marinate it in yogurt and spices for added flavor.

The Masala is a delicious tomato cream gravy in which the fish then simmers and becomes juicy and flaky.  This gravy is great because it’s not super creamy, filled with flavor without being overpowered by heat.

As to the type of fish, I used salmon as it holds really well in the simmering sauce but you can also use Tilapia if Salmon is not available.  But just as important as the fish is the sauce.  If the sauce is not good, it doesn’t matter how well you seared your fish.  There are some recipes that I want that texture and chunkiness however, this tikka masala is not it, so once the sauce is pretty much ready to eat, blend it down to a creamy texture with a hand blender.

Serve it up with some warm Naan or Rice and have yourself a delicious meal.  From my kitchen to yours, I hope you enjoy this Fish Tikka Masala!

Here are the tools I used for this recipe:

Spinach Stuffed Chicken Casserole

The original idea with this recipe was to make Spinach Stuffed Chicken Breasts.  But I sent hubby to get this week’s groceries.  I’m not sure if I’ve shared this before but sending the hubby out for groceries is always picking a random card from a deck.  You never know if you will get the groceries you asked for but he will definitely come back with items you never knew about or sometimes with everything but what was on the list.

Luckily this time, I did get my chicken….. just not the breast – he came back with tenders.  So imagine my surprise when I’m in the middle of making dinner and I have chicken I cannot stuff.  Since it was almost dinner time and I would very quickly have 2 little munchkins turn into monsters if not fed, I had to do some quick thinking.  Between my hubby’s quirky shopping and my quick thinking, I’m excited about this casserole!

The kids loved it and the hubby took seconds and leftovers to work for lunch!  Talk about a win-win.  Anyways, on to the this delicious recipe!

I love this recipe because it’s fairly healthy, easy to make and not much fuss!  You can even make it ahead and keep it in the fridge, then just pop it into the oven when you are ready for it.

The stuffing is easy with spinach and cream cheese being the star.  I kept the chicken pretty simple with just a salt and pepper seasoning because I used my Veggie Pasta Sauce for the top and then layered on some cheese to give it a little melty, gooey finish.

Try it out and tag me to tell me what you think!  From my kitchen to yours, I hope you enjoy this Spinach Stuffed Chicken Casserole!

Creamy Fennel Orzo

This orzo is creamy, spicy, and full of flavor.  I love orzo but wanted to do something different than the standard mediterranean orzo salad I have (which is delicious by the way!) so I decided to play around with it.  And boy am I glad I did!

Fennel has a delicious licorice taste without being so powerful and combining it with the onions and caramelizing them was just the perfect way to give this orzo a sweet flavor to balance the spice.

I did top this with a piece of chicken for the husband but you can make it vegan by omitting the chicken!  So easy to make it work either ways.

If you do use the chicken, you can either bake one if you have the time or use a rotisserie chicken as a hack to cut the time.

Perfect for the upcoming autumn season, try this delicious bowl of orzo and bring a little sweet and spicy to your soul!

From my kitchen to yours, enjoy!

Sausage & Zucchini Linguini

IMG_7744
I’m a firm believer in easy meals that are healthy and don’t take much of my time.  This Sausage & Zucchini Linguine is just that.  It literally took me 15 minutes to make (with Aishani in the kitchen “helping” me) and was loved by everyone.
IMG_7736
Here are a few things I like about this pasta dish:

  • Gluten Free (cauliflower based linguine …. so delicious and guilt free!)
  • Ready in 15 minutes!
  • The combination of sausage and spices packs a punch of flavor
  • Bright and colorful veggies
  • Carb Free
  • A little munchkin, who in the name of cooking with me, ate a good amount of my sausage and bell peppers during the cooking process

IMG_7734

IMG_7740
Taste Republic has their cauliflower linguine in most grocery stores so go get a pack!  (This is not a paid ad, I just love their pasta).
IMG_7733
From my kitchen to yours, enjoy this fun and easy meal!

Teriyaki Salmon

Recently, we’ve been eating a rotation of mostly the same foods as at least 50% of our household has been taking shifts getting sick.  Well, I’m happy to say, we’re (hopefully) finally getting to the tail end of it so that means no more soup or tea!  My hubby recently picked up some Udon noodles for me (he knows I like them a lot!) and I’ve been trying to figure out what I want to do with them.  Sure they taste great on their own but let’s get real, they taste even better paired with a delicious filet of salmon.
I’ve also been playing around with my version of a teriyaki sauce.  Most of the recipes I found online included a sake but since I was going to experiment on my toddlers as well as my hubby, I decided to leave that one out.  I have to say, this sauce turned out pretty delicious – I even dipped my brussels sprouts in the leftover as if it were a dipping sauce.  Try it out and tell me what you think!

20180212_172550.jpg20180212_172922.jpgThe best part about this sauce is that it is very simple and most people have these ingredients at home!   In a little mixing bowl, add the soy sauce, brown sugar, ground ginger, and minced garlic.  I also added a little flour, some chili pepper flakes and EVOO to the bowl.
20180212_205843.jpg
This is my favorite part of the recipe – sesame seeds.  The nutty flavor and crunch adds just the right note of balance.
20180212_210113.jpg
Whisk everything really well.  You want all the ingredients to blend well and make sure there are no lumps from the flour added.  They won’t cook and trust me – it can ruin the taste.
In a large bowl, line 2 6oz salmon filets and cover with the teriyaki sauce.  Let it marinate for at least 30 minutes.
20180212_175912.jpg
Coat the bottom of a cast iron skillet with EVOO and heat on high until it starts to smoke.  Reduce the heat and place the salmon skin side up and let it cook for 4 minutes.  Do Not Touch the salmon for the next 4 minutes.  I know people get anxious and want to check if it is cooking properly, is it burned, there’s a char type smell coming, etc, etc.  I assure you nothing is wrong with it.  In fact, the more you try to check it, the more it will not cook properly.
Once your 4 minute timer goes off, flip the salmon the other side and cook for another 3 minutes.
Serve with noodles or rice and enjoy!

Teriyaki Salmon:
Ingredients:
2Tbsp Soy Sauce
1Tbsp Brown Sugar
3 cloves minced garlic
1/4tsp ground ginger
1/2tsp chili flakes
1Tbsp sesame seeds
1/2Tbsp flour
2tsp EVOO

2 6oz Salmon filets (can be replaced with tofu or any of your favorite veggies)

Directions:
In a small mixing bowl, add all of the ingredients and whisk to combine everything.
Coat a cast iron skillet with EVOO and heat on high over the stove.  When it starts smoking, add salmon skin side up and cook for 4 minutes.
Flip and cook another 3 minutes.

Serve hot with noodles or rice.
Enjoy!

Lamb Tagine

One of my favorite wedding gifts was from one of my closest friends Christine.  A Moroccan tagine.  When I first opened the box and saw it, I was fascinated by this shallow pot and cone shaped cover.  I thought, how do I cook anything in here?  3 years later, it’s become one of my prized kitchen accessories. (This particular time, I ended up using the casserole dish because of the amount I was making, otherwise, the tagine is perfect for 2-3 servings)

wp-1473223031998.jpgThis Lamb Tagine is a favorite in my household.  Juicy, tender meat falling off the bone with each bite.  Fresh figs and Asian Pears to add just the right hint of sweetness to the dish.  A chermoula spicy enough to wake up your palate.  How can you go wrong?  It takes a while to make, but worth every second of the wait.

First, you want to make the chermoula to marinate the lamb in.  Chermoula is a marinade usually made from herbs, oil, and spices.  This one is made from Parsley, EVOO, garlic, lemon juice, spices and jalapeño to add a little kick.  Try to give your lamb at least 6 hours to marinate, overnight if you can.  The lemon juice in the chermoula is important as it will help break down the proteins in the lamb and make it more tender.

wp-1473223031673.jpgDoesn’t that vibrant and green chermoula look gorgeous?!

About 10 minutes before you are ready to cook the lamb, chop the figs and onions.  These are going to help make the basis of your “stew”.

The lamb will go on top and the whole dish will go in the oven for 1.5 hours.  At the end of the two hours, browned pears will top the lamb and in it goes into the oven for another 30 minutes.
wp-1473223031646.jpg
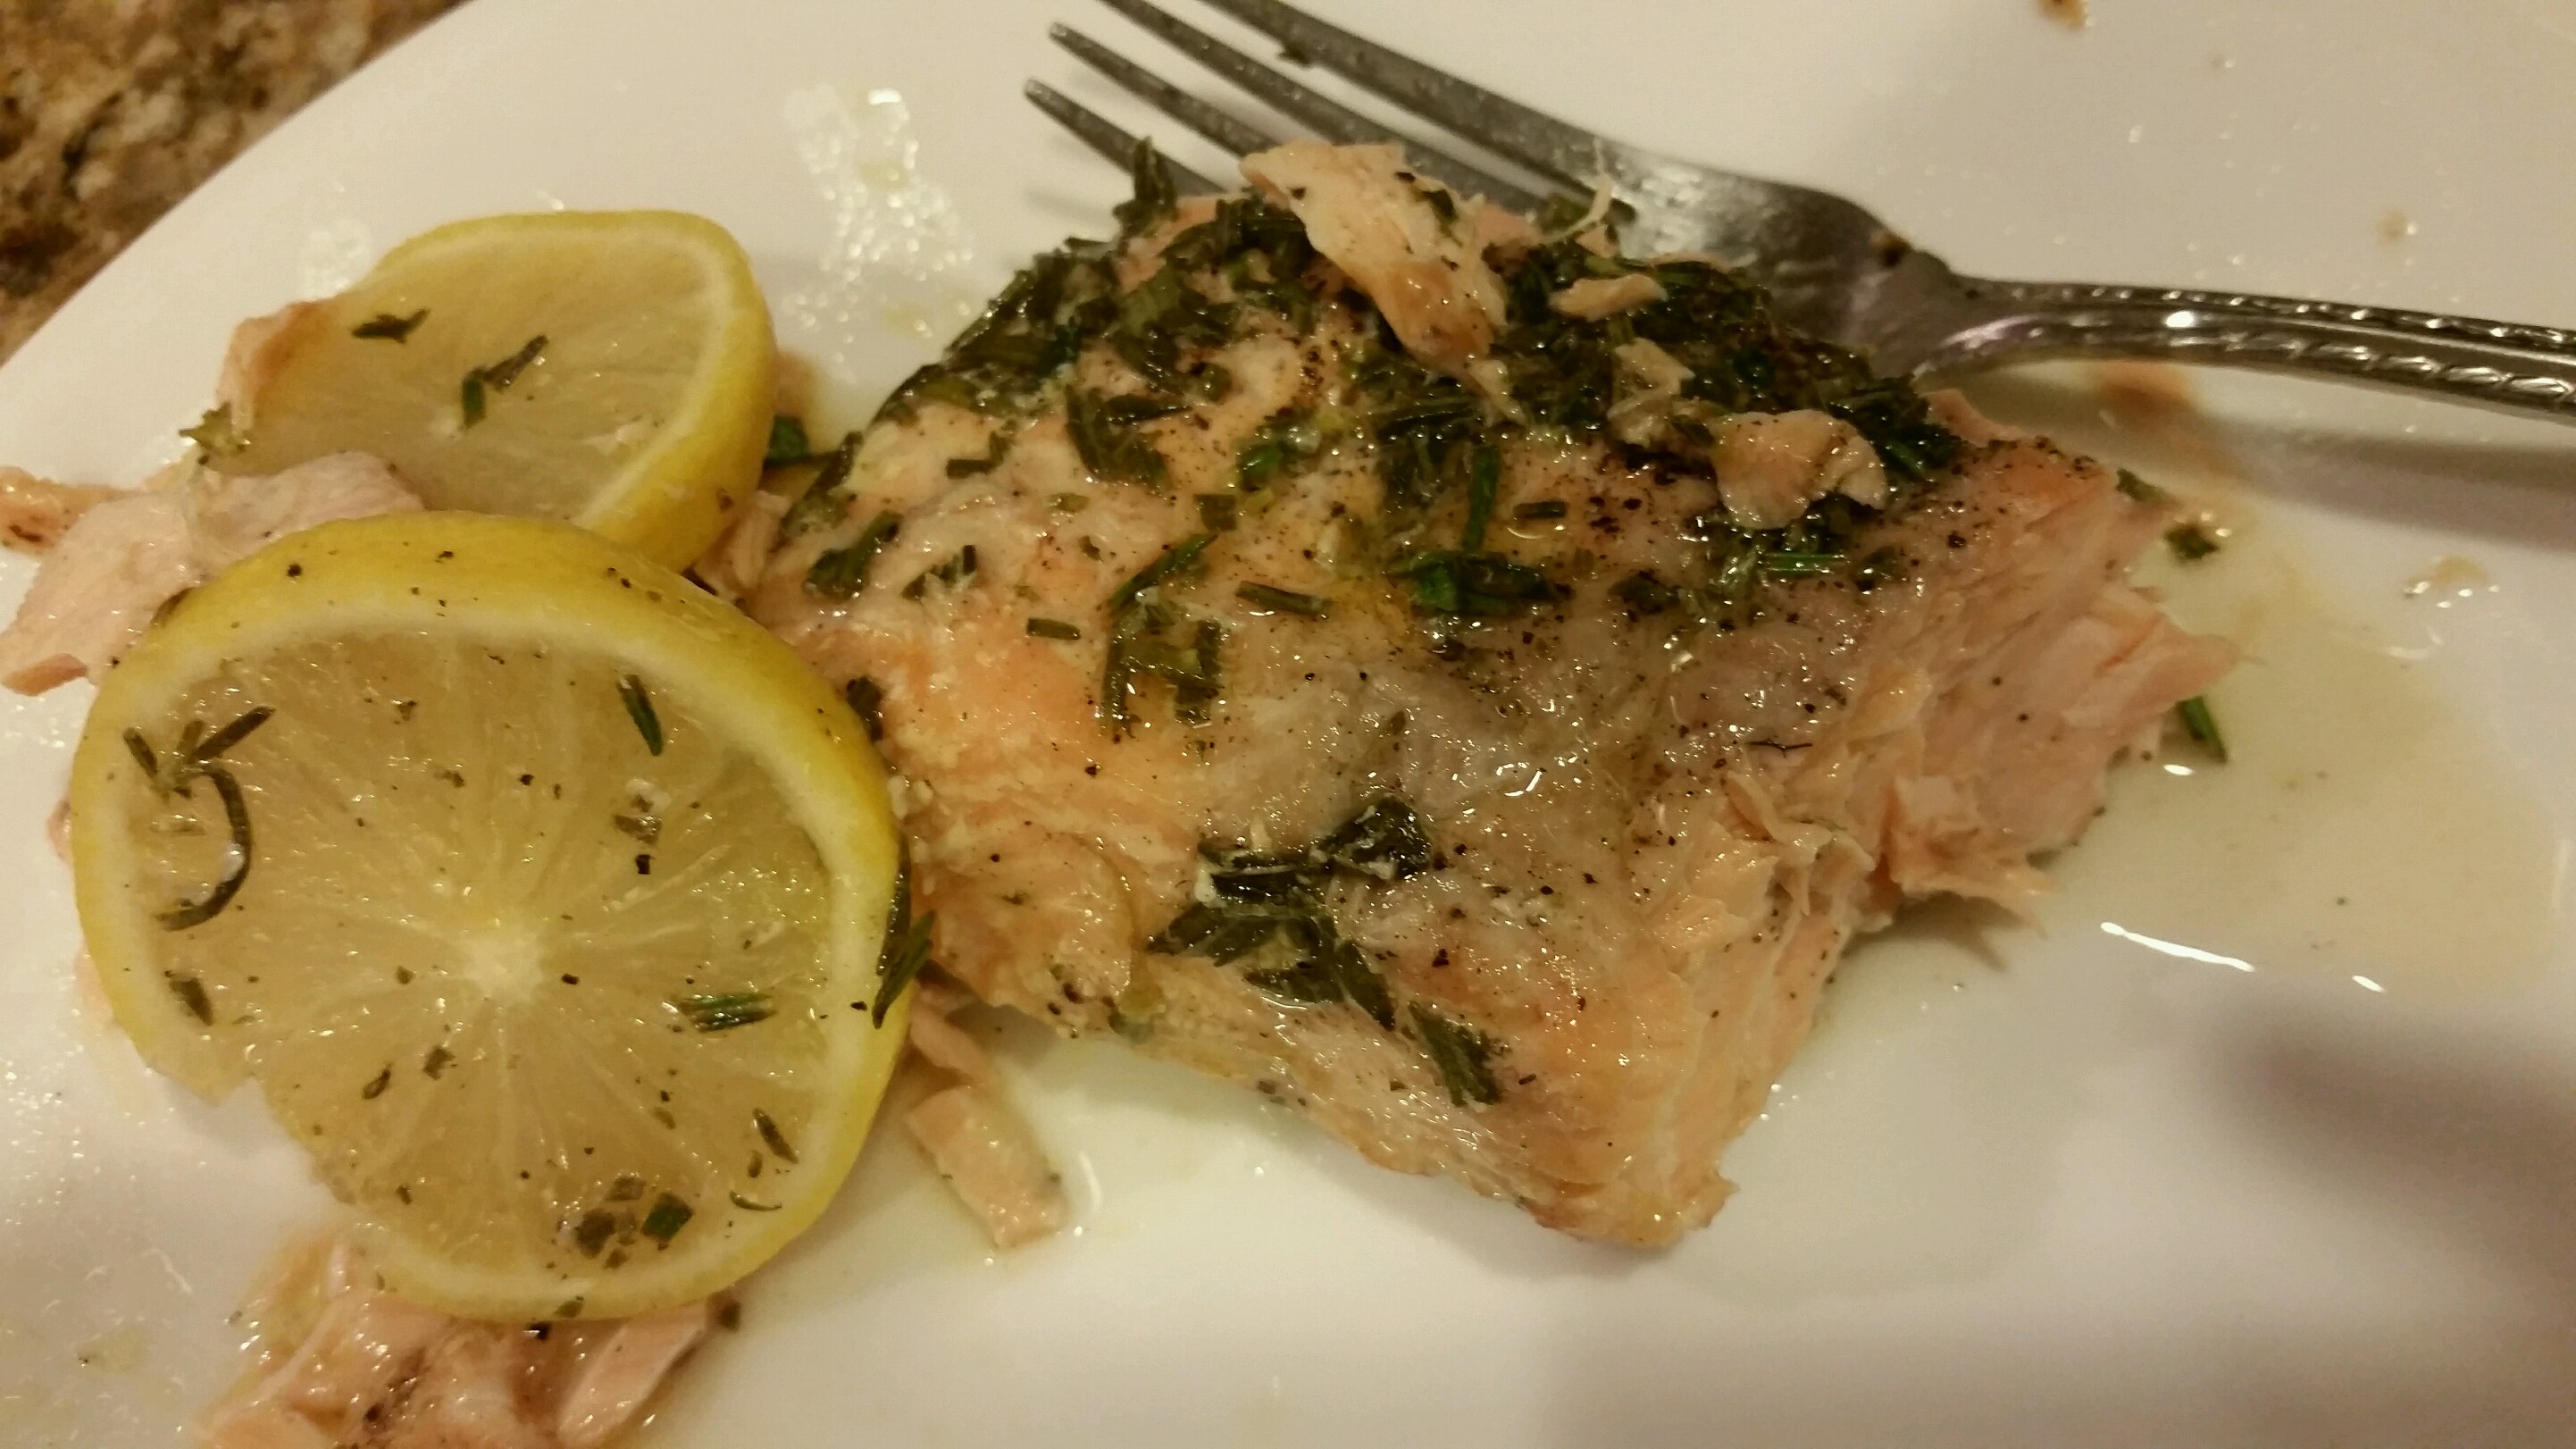
The result…. delicious, tender, juicy lamb with figs and prunes melting in your mouth.  It’s a pretty easy recipe that looks like you deserve a Michelin star for!

wp-1473223031966.jpg

Hope you enjoy it!

Ingredients:
3 shoulder of lamb on the bone
2 Tbsp ghee
1 red onion, chopped into wedges
1 c pitted prunes
1.2 c fresh figs, halved (can replace with dried figs if fresh not available)
3 Tbsp butter
1 large Asian pear, chopped into wedges

For the Chermoula:
3 garlic cloves, chopped
2 jalapeños
1 small bunch of parsley
fresh squeezed juice of 1 lemon
1 1/2 tsp cumin
4 Tbsp EVOO
1 tsp salt

Directions:
Put all the ingredients in a food processor and blend to make a coarse paste.  Make small incisions in the lamb and rub the chermoula into the meat.  Cover and leave in fridge overnight, or at least a minimum of 6 hours for the proteins in the meat to break down.

Preheat oven to 350ºF.

Over medium flame, heat ghee in the tagine or stoneware casserole dish.  Add the lamb and brown for about 3 minutes on each side.  Set lamb aside on a separate plate and in the same ghee, add the leftover chermoula, onions, prunes, and figs.  Sauté for about 3 minutes, then add 1 cup of water.  Add the browned lamb back into the tagine/casserole dish and cover.  Bake for 1.5 hours.

About 5 minutes pulling the lamb out of the oven, melt butter in a pan and add the Asian pears.  Sauté till golden brown.  Return lamb to oven for another 30 minutes.

Serve lamb immediately with Buttery Couscous.

Breaded Chicken

IMG_5437

Chicken can get boring if you don’t get creative but I’m going to share with you my secret.  I love making breaded chicken because I can use it so many ways…. use it to make chicken parm, serve with spaghetti and marinara sauce.  This is also one of my go to chicken recipes if I’ve not had a chance to prep for dinner and need to make something without putting in too much effort.  Usually breaded chicken requires thinning out the chicken by pounding it down with a meat mallet; I’m not into beating the crap out the poor thing after it’s already dead so I slice it in half instead.  This is actually so much better I think as you get to portion control your meat and it doubles the serving size.

Slice 2 chicken breasts in half and season both sides of each half with salt and pepper.
IMG_5433

For the breading, you’ll need three deep bowls or plates.  In one, add some all purpose flour.
IMG_5430
In the second, crack 2 eggs and whisk them really well.
IMG_5431
In the third, mix together bread crumbs and parmesan cheese.
IMG_5432
Heat up a non-stick skillet and add a little evoo to it.  While the oil is coming up to temp, take a piece of seasoned chicken breast and first dredge it in the flour.  This will help take out all the moisture from the chicken so the eggs and bread crumbs can stick better.  Next, dip the chicken breast in the egg and finally, in the bread crumbs and cheese mixture.  Make sure you cover all the chicken breast with the crumbs mix for maximum flavor.
Once you’ve dipped the chicken breast in all three, add it to the skillet.  Oh I love the sound of the chicken sizzling!
IMG_5434
Let the chicken cook on each side for about 3-4 minutes on each side so you get a beautiful golden crust. Make sure you use two separate tongs, one for the raw meat and one for the meat cooking on the stove to prevent food contamination.
IMG_5435

If you’re having a party or even want a head start on dinner, you can totally make this chicken ahead of time and just keep in the oven to warm up when you’re ready to serve.   Hope you enjoy it as much as my husband does!

Ingredients:
2 chicken breasts, each sliced in half
1/2 c flour
2 eggs
1/2 c Italian style bread crumbs
1/4 c parmesan cheese
salt and pepper to season
EVOO to cook chicken with

Directions:
Season both sides of each chicken breast with salt and pepper and set aside.
Prep the breading station with flour in one bowl and beaten eggs in a second.  In the third bowl, mix the bread crumbs and parmesan cheese together.
In a non-stick skillet, heat the evoo on medium heat.  Add in the breaded chicken and cook on each side for about 3-4 minutes until golden brown.
Serve with pasta and sauce, or even use to make chicken parm.
Enjoy!

Lal Murgh (Red Chicken)

IMG_5009
I haven’t cooked Indian food in a while because it needs some good time and attention to come out perfect and those are two things I don’t have in abundance these days.  So I decided that needed to change and I needed to create something easy but vibrant and delicious, with lots of flavor.  The spices in this red chicken pack a great punch with an array of flavors and the meat is nice and tender from being marinated even for just a short time.  The best part, the spice mix I used is the Butter Chicken spice mix you get at any Indian grocery store – so easy and time saving!
One of my favorite ways to prep meat is to marinate them.  Did you know that marinating meats helps slow down the growth of bacteria?  Also, based on the ingredient you’re marinating you’re meat with, it affects in a different way.  For example, I’ve used citrus which is known to tenderize the meat and lock in the moisture when you’re cooking it.  Hope your chicken turns out juicy like mine did!

Chop up a boneless, skinless, chicken breast into cubes.  Set them in a container and add in a little spice mix, a splash of lemon juice, and some water.  Mix the chicken well, cover it, and let it marinate for at least 1 hour.  Doesn’t that just look gorgeous?!
IMG_4974

When you’re ready to cook the chicken, heat a little oil in a non-stick skillet over medium heat.  Add some red onions and sauté for a couple of minutes.
IMG_4999

Add in some grated ginger and minced garlic.  Oh, the smell of that garlic!
IMG_5000

Sauté all of the above for a couple of minutes, then add in the tomatoes.
IMG_5002

Mix well, and cook everything for 5-10 minutes. You’ll notice the tomatoes softening and the oil separating.  They should look something like this:
IMG_5004

Finally, add in the marinated chicken and mix well.  Cook it for about 7 minutes or until done.
IMG_5009

For the chicken marinade:
1 skinless, boneless chicken breast, chopped into 1 inch cubes
2Tbsp lemon juice
1Tbsp spice mix
1/3c water

To cook the chicken:
1Tbsp EVOO
1/3c finely chopped onions
1 garlic clove, minced
2tsp grated ginger
2 tomatoes, chopped finely

In a bowl, mix together the chicken, lemon juice, butter chicken spice mix, and water.  Toss well to coat all the chicken pieces evenly.  Cover and refrigerate for at least 1 hour.

To cook the chicken, heat the oil in a non-stick skillet over medium heat.  Add the onions and sauté for 2-3 minutes.  Add in the garlic and ginger and cook for another couple of minutes.  Finally, add in the tomatoes and mix well.  Cook for 5-10 minutes until the oil separates from the tomatoes.  Add in the marinated chicken with all the juices and cook for another 6-7 minutes or until the chicken is completely cooked through.

Garnish with cilantro and serve hot with Roti, Naan or Rice.  Enjoy!

Lamb Meatballs

20151002_201444

“A way to a man’s heart is through his stomach.”  This is definitely true for my husband and I.  One of the first meals I made for him were Lamb Kebabs and it obviously made it to his heart!  I made it recently and brought back memories of our dating days.  Hopefully, this recipe will make it to your family’s stomach and heart.

Ingredients:
2lbs ground, lean lamb
2 eggs
1/2c bread crumbs
1 med yellow onion, finely diced
1/2 packet Tikka Seekh Kabab Mix (this can be found at any Indian Store)

shan_tikka_seekh_kebab_bbq_mix(I forgot to take a picture of mine but this is what the packet looks like)
Directions:

Mix all of the ingredients in a bowl and mix together.  But be careful not to over mix the meat.  Over mixing it will make the meat really tough when you cook it.  Cover and refrigerate for at least 4 hours, overnight if you plan ahead.  The longer it marinates, the better the flavor.

Preheat oven to 400°F.  Spray two baking sheets with olive oil cooking spray.  Roll out the meat into 3/4″ balls and line onto a baking sheet.  This recipe makes 50 meatballs.

20151002_192400

Bake for 20-25 minutes.  Check internal temp to be 160°F to make sure they’re cooked through.

Once you pull them out of the oven, let them rest for a couple of minutes.  Serve with tzatziki sauce.  Enjoy!

Chicken Pot Pie

Updated Jan 4, 2020 from the original post published Sept, 2015.

Chicken pot pie is a family favorite in this household.  My kids have been asking for this almost biweekly for the past couple of months.  It makes me so happy that they would love eating my pot pie (though I secretly think it’s mostly because the name has “pie” in it).  I have included in the recipe notes to make this recipe vegetarian and vegan so try it out and let me know what you think!

A hack that I have been known to use on occasion is buying rotisserie chicken, shredding it up and using that instead of baking my own.  This simply cuts down on the time involved to make the pot pie.  If you choose to go this route, remember to buy an herb roasted or seasoned chicken so that there is added flavor.  You can also make these in individual ramekins to personalize them by adding chicken to those who want it and keeping it vegetarian for those who prefer not.

Making chicken pot pie on a busy weeknight may not be ideal but it you can totally make and assemble the pie over the weekend and simply bake it during any weeknight.  Storage is easy as it can last in the fridge up to 5 days.  So what are you waiting for?  Make this your next meal and feel the comfort of home!

From my kitchen to yours, I hope you enjoy this delicious Chicken Pot Pie!

Here are the tools I used to make this recipe:

Lemon Herb Salmon

A quick and easy weeknight recipe that tastes good and doesn’t require any effort – sounds like something I can go for all the time.  I’m not a fish expert by any means but I like to experiment whenever I can.  Here’s one of the simplest but tastiest (according to the husband) salmon I’ve made.

I got a 1lb wild salmon filet from the market (you can ask your butcher to take off the skin – I’ll admit, I hate doing that!)

Heat the oven to 400°F.  In a pan, line foil so it overflows about 2 inches on all sides.

Add the salmon, drizzle olive oil, salt and pepper on both sides.

Sprinkle finely chopped rosemary and thyme on the top.

20150923_192551

Cover with thinly sliced lemons

20150923_192715

Fold two of the sides over to make a handle.  Then fold over each of the other two sides so that none of the steam or liquid seeps out when it’s baking.

20150923_192846

Bake in the oven for 20 minutes.  When you pull it out, poke a couple of holes in to let the steam out before opening the foil completely.  Portion out into two servings and serve with rice and your favorite veggies!

16361

Makes 2 servings so it’s perfect for a date night!

Ingredients: 

1lb salmon filet
1Tbsp finely chopped rosemary
1Tbsp finely chopped thyme
1/2 lemon, thinly sliced
1Tbsp olive oil
Salt to taste
Pepper to taste

Instructions:

Heat the oven to 400°F.  In a pan, line foil so it overflows about 2 inches on all sides.
Add the salmon, drizzle olive oil, salt and pepper on both sides.
Sprinkle finely chopped rosemary and thyme on the top.
Cover with thinly sliced lemons
Fold two of the sides over to make a handle.  Then fold over each of the other two sides so that none of the steam or liquid seeps out when it’s baking.
Bake in the oven for 20 minutes.  When you pull it out, poke a couple of holes in to let the steam out before opening the foil completely.  Portion out into two servings and serve with rice and your favorite veggies!

Shrimp Ceviche

The husband is a big fan of seafood so I decided to surprise him with some shrimp ceviche today.  With a few changes on the classic recipe, here’s my version of shrimp ceviche.

Shrimp Ceviche

Ingredients:

1 pound fresh, raw shrimp
1 c lemon juice
1 large cucumber, deseeded, peeled and finely chopped
2 roma tomatoes, deseeded, finely chopped
1/2 red onion, finely chopped
2 Tbsp parsley, finely chopped
1-2 serrano peppers, finely chopped (how many you use depends on your spice level)
Salt to taste

Directions:

In a large bowl, pour 1/2 c lemon juice over shrimp and let rest for at least 15-20 minutes.

In another bowl, combine cucumber, onion, tomatoes, peppers, parsley and 1/2 c lemon juice and mix well.  Add veggie mix to shrimp then salt to taste.  Mix well.  Cover and let marinate in fridge for at least 1 hour so the flavors really sink in.  Serve with chips and Enjoy!