Minestrone Soup
A hearty and nourishing Minestrone Soup made with fresh vegetables, beans, and pasta. A comforting, nutrient-packed meal perfect for cozy fall and winter days.
Continue reading “Minestrone Soup”

A hearty and nourishing Minestrone Soup made with fresh vegetables, beans, and pasta. A comforting, nutrient-packed meal perfect for cozy fall and winter days.
Continue reading “Minestrone Soup”

Turn mealtime struggles into a win with this clever veggie-packed pasta sauce that even my picky eaters loved—delicious, nutritious, and totally hidden!
Continue reading “Veggie-Packed Pasta Sauce for Picky Eaters”

Continue reading “Chickpea Orzo Skillet”


Elevate your meals with our homemade Cilantro Lime Dressing! Discover its versatile uses in salads, marinades, tacos, and grilling. Experience the burst of fresh, zesty flavor with every bite.
Continue reading “Cilantro Lime Dressing”

A delicious and nutritious Roasted Vegetable Barley Bowl filled with barley, arugula, hummus, a variety of veggies including asparagus and blistered tomatoes, all topped with a sprinkle of chili flakes for just a little heat. It’s perfect for a weeknight meal.
Continue reading “Roasted Vegetables Barley Bowl”

Aloo Shimla Mirch Sabzi is an Indian stir fry made with potatoes and bell peppers. Generally a dry dish with a variety of spices, you can serve it for lunch or dinner with roti or dal.
Continue reading “Aloo Shimla Mirch Sabzi (Bell Pepper Potato Sabzi)”

This Spinach, Pear, and Pomegranate Salad is light, hearty, delicious, loaded with feta and candied pecans, and exceptionally healthy.
Continue reading “Spinach, Pear, and Pomegranate Salad”

An effortless one skillet vegan recipe filled with sun-dried tomatoes, artichokes, chickpeas, spinach, grilled lemon slices, and of course orzo! Simple, healthy ingredients that come together quickly for a perfect weeknight meal, this Lemon Chickpea Orzo Skillet is a dish that everyone can enjoy!
Continue reading “Lemon Chickpea Orzo Skillet”

Crispy, sweet, and salty bites of tofu paired with sauteed bright broccoli on a bed of rice noodles. It can’t get any better than this. Filled with protein, this Teriyaki Tofu Noodle Bowl is perfect for a weeknight dinner or lunch prep.
Continue reading “Teriyaki Tofu Noodle Bowl”

This Creamy Vegan White Bean Soup is a healthy one-pot soup that will fill you up, give you energy, and is full of flavor!
Continue reading “Creamy White Bean Soup with Spinach”

Creamy and nourishing, this delicious Autumn Squash Soup is just perfect for a cozy dinner at home during these cold days. This soup is a spin off of Panera’s Autumn Squash Soup without the extra calories. But don’t worry! It still tastes amazing and just like Panera’s. The best part is that whilst you make this delicious soup, your home is going to smell like fall. Can it get any better?
Continue reading “Autumn Squash Soup”

Delicious, easy, and filling tacos that are warm and crispy on the outside and creamy on the inside.
Continue reading “Crispy Black Bean Tacos”

As I raise my girls, it has become very important to me that they keep connected to their roots and one of the ways I do this is through food. Lucky for me, they both love the typical comfort food fare of “Dal Chawal” or Lentils and Rice. A twist on the traditional Moong Dal Fry, this recipe adds zucchini and is low in calorie but nutrient dense.

Ready in just 15 minutes, this has become my latest go to recipe when I’m tight on time. Because moong dal cooks very quickly, I don’t soak them for more than 20 minutes.

Nutrition is also very important when I’m serving this dish as a main meal to the girls, and this dish doesn’t disappoint.
1 cup of zucchini moong dal gives you:

As to cooking it over the stove versus the instant pot, traditionally, the dal was boiled first then added to the spices. I love just using one pot to make the whole dish so I usually add the uncooked dal into the spices/gravy mix then cook it in the instant pot.

I hope you get a chance to try out this delicious recipe and enjoy it as much as my family does.
Looking for more lentil/dal recipes? I’ve got you covered. Check out some of these amazing dishes:
Sprouted Moong Beans Sabzi Gujarati Style
Spinach Dal
Instant Pot Kali Dal
Adai Waffles / Lentil Waffles
Here are the tools I used for this recipe:


This one pan salmon is perfect for a busy weeknight meal. Ready in 15 minutes, it’s a nutritious meal the whole family will enjoy!

I love the idea of using just one pot or a pan. Not only is cleanup easy but you don’t spend forever in the kitchen cooking after a long hard day of work. Don’t get me wrong, the kitchen is my happy place. But weeknights are crazy when the kids are hungry and don’t have the patience to wait for me to cook an elaborate dinner.

My favorite part is that the girls eat the rainbow veggies I add on the side. The colors look so pretty and the girls love their rainbows as much as I do. Chopping the veggies and seasoning them doesn’t take very long and adding that glaze on the salmon with a little honey and mustard mix is perfect to brighten up the salmon.

I kept the seasoning for the veggies pretty simple – salt, pepper, and a little dried oregano. Why? Because I want the salmon to shine too. The veggies have their color that attracts you to them so the salmon should have something too, right? The glaze is very easy to make. Just mix a little dijon mustard, honey, garlic, and of course fresh squeezed lemon juice. Brush it on to the salmon and voila! All that is left to do is bake!
From my kitchen to yours, I hope you enjoy this easy and delicious One Pan Salmon with Rainbow Veggies!
Here are the tools I used for this recipe:


Roasting vegetables is one of my favorite ways to eat any vegetable. Having several different colors and cooking them together is the best in my book! You get plenty of vitamins and minerals and the different colors are just so pretty to look at! These Roasted Rainbow Veggies are the perfect way to serve your veggies for adults and kids, making them fun, easy, and healthy.

Rainbows have always been popular in our home, with me always telling my girls to eat their colors and the girls loving anything to do with rainbows, unicorns, and princesses. Roasting the veggies in a rainbow on a sheet pan is about the easiest recipe I have ever made. The vast array of vitamins and minerals that we get to eat with our dinner makes this one of my healthiest recipes.

For my colors, I chose beets, carrots, yellow squash, asparagus, and purple potato. You don’t have to stick to those same colors. Honestly, go for what you find in your fridge. Here are a few ideas to get you started for your own Roasted Rainbow Veggies:
RED: beets, tomatoes, red bell pepper
ORANGE: carrots, butternut squash, acorn squash, pumpkin
YELLOW: yellow squash, yellow bell pepper, golden beets, yellow onions
GREEN: zucchini, broccoli, asparagus, brussels sprouts
BLUE/PURPLE: purple sweet potatoes, purple carrots, eggplant, purple onions
So now that you have options, how do you make your own Roasted Rainbow Veggies? All you need is a good chopping board, a sharp knife, and a sheet pan. As to the flavors, my standard is to add a little dried oregano for taste with salt, pepper, and olive oil. Roast in the oven for 25-30 minutes (times do vary based on the type of veggies you choose), and serve it up with any dinner.

I can’t wait to see what veggies you chose to make your rainbow. Be sure to let me know in the comments or tag me on Instagram or Facebook!
From my kitchen to yours, I hope you enjoy these quick, delicious, and healthy Roasted Rainbow Veggies!
Here are the tools I used for this recipe:


If you have been following me then you know how much I love my bowls. Experimenting with different flavor profiles, playing around with new dressings, and oftentimes using whatever vegetables are left in the fridge waiting to be saved from their last moments are the best part of creating my new bowl.

My brussels sprouts were facing a similar fate as mentioned above. I had enough left that I could create a whole new dish with just them, but so few that I didn’t want to waste them either. Grain bowls are perfect for these types of situations especially if you are using a variety of different ingredients.

This one turned out so delicious that I actually went out and bought more brussels sprouts even though I am trying to move on to spring veggies! We’ve now had this bowl 4 times in the last 2 weeks and no one in my household minds – in fact, they love it !

I added in some sweet potato for a little starch, sweetness, and fiber, and avocado for protein. As for the dressing, keeping it simple was the best route. I made a honey dijon dressing that worked wonders. The tang from the dijon and the sweet honey are a perfect balance to the bowl.
So…what are you waiting for? Try this delicious Brussels Sprouts Grain Bowl and become a fan too!
Here are the tools I used for this recipe:


Looking for a healthy way to get protein without compromising flavor? Well, you’ve come to the right place. This Vegan Protein Bowl has hints of spicy, tangy, herby, and definitely brings a Middle Eastern vibe in each bite!

Simple to make and ready in just 30 minutes, you have got to try this delicious bowl. So let me tell you a little bit about the ingredients I chose. For my grain, I used quinoa because it packs more of a protein punch but you can definitely use any other grain. Bulgur or Farro would be excellent substitutes to keep in line with the Middle Eastern food theme.
For added protein and crunch, I used garbanzo beans. I love snacking on these so I actually made double the amount and the girls ended up eating most of them!

As to the veggies, I used a few different ones as I wanted to get the colors in. To give it some warmth, I roasted the cauliflower with the garbanzos and to keep a cool factor, I made a salad of tomatoes, avocados, cucumbers, and fresh herbs.
So it’s not just what ingredients I use but how much nutrition this delicious bowl provides. In addition to almost 20 gm of protein, you are also getting:
The best part of making this recipe is that even though there are several different steps and techniques, you can multitask and get them all done at once without chaos in the kitchen! Roast your veggies, while your quinoa cooks and you are making the Avocado Salsa! So simple and easy!

Last but not least, I added a hummus dressing to pull it altogether. I love making my own dressings and there is no way I would leave one out of a bowl this delicious. And to be honest, I really think the hummus dressing really marries all the flavors together so perfectly. So what are you waiting for?! Try this recipe out and let me know what you think. Leave a comment below, give it a star rating, or tag me on Facebook or Instagram!

From my kitchen to yours, I really hope you enjoy this delicious Middle Eastern Vegan Protein Bowl!
Here are the tools I used:

The year 2020 has not been without its challenges though I feel stronger coming out of it and ready to start a new year. One thing I am very proud of myself for doing is relaunching my blog and getting more creative with my work. I’ve managed to publish quite a few recipes and many of them were pretty popular. I want to thank all of you for taking the time to visit my blog and trying my recipes.
I wish all of you a Happy New Year as you read the top 15 from this year based on reader reviews and responses. I hope to continue growing and sharing my love of cooking with you in 2021. Here are the top 15 recipes of 2020.
Sweet Potato and Beet Hash with Fried Eggs

A delicious, nutrient dense brunch dish that will become of one your favorites right away. Easy to make it vegan by omitting the egg, this recipe is also sustainable using the beet greens along with spinach for the base of the hash.
Butternut Squash and Lentil Salad
 A warm lentil salad with a sweet butternut squash, the crunchy seeds, apples and pomegranates with feta crumbles adding a little creaminess is the perfect blend for this salad. Another nutrient dense dish that can fill you up for lunch or dinner.
Instant Pot Tortilla Soup

A quick and easy soup that is packed with flavors and perfect for a winter weeknight. Settle in with a bowl of this Instant Pot Tortilla Soup which takes only 4 minutes to cook!
Pineapple Fried Rice
 A quick stir fry that takes only 20 minutes to make this Pineapple Fried Rice is filled with texture, flavor, and an exotic touch. Try it out for your next Thai night.

A staple in almost every Indian home, Aloo Parathas are perfect for brunch, a rainy day, or pretty much anytime!
Spiced Plum Crumble Bars
 A delicious treat that can be eaten for snack, breakfast, or as a nibble with your afternoon tea.
Rangoli Ladoos
 These sweet Ladoos (truffles) are a delicious and easy recipe that can be made any time of the year, but especially for festivals such as Diwali, Holi, and Navratri. Try them out and you will have your very own batch made in less than 15 minutes!
 A delicious, light, and healthy appetizer, these are perfect for any type of party or dinner. Brighten up your table during the Holidays with these colorful Tinseltown Tostadas.
Tandoori Gobi (Cauliflower) Zucchini Boats
 A quick and easy recipe that is packed with traditional Indian flavors, make these healthy Tandoori Gobi Zucchini Boats to bring some spice to your table.
Skinny Skillet Veggie Enchiladas

These are a great way to Enchiladas while cutting down the carbs significantly. The flavor is still there and packs a good punch! No wonder they are so popular.

A delicious salsa with the addition of mango makes for a yummy sweet and spicy bite. So versatile, you can eat this Mango Pico with practically anything!

A delicious Indian Fusion recipe, this Pear Halwa Cake is a great dessert to have at any holiday or birthday table! Make it for Easter, Mother’s Day, Birthdays and Anniversaries alike!
Lemon Ricotta Pancakes
 These light and fluffy pancakes have become a weekend staple in our home. Try them once and you’ll be addicted too!
Chocolate Samosa
 A sweet twist on the traditional Samosas, these irresistible Chocolate Samosas are filled with Nutella. I promise it will be very hard to stop at Just one!
Adai Waffles / Lentil Waffles

Healthy Lentil Waffles that are packed with proteins, vitamins, and minerals. These are your one stop shop for a complete meal.
Thank you so much for making 2020 so special for me. I have enjoyed and embraced cooking for you. Which recipes have you tried? Feel free to leave comments below, or tag me with your pictures on Facebook or Instagram. See you in 2021!
Ok so I know that the name alone makes this salad sound like an explosion of so many different flavors and it is! But….. that’s what makes this salad work so well!

Between my obsession for salads and my inclination towards making my own dressings, my salad game is going strong right now. I’ve been wanting to use watermelon radish for a while now because of it’s flavor and just how pretty it looks!

Here are a few fun facts about watermelon radishes:

The fennel was added in to balance out the peppery flavor of the radish (though, to be honest, I wasn’t sure how the hubby was going to like it as he is not a big licorice flavored guy. The best part about eating fennels to me is the licorice!). Luckily, the fennel taste was mild when combined with the flavors of the salad.

As to the Ginger Lime dressing, adding the hint of ginger balanced with a little honey in the dressing and the lime to brighten up the salad, it was the perfect choice to use this for the salad.
When I think about this salad, it really has a great balance of sweet, spicy and tangy! So perfect for a lunch meal, side dish, or a Covid free Thanksgiving dinner!
From my kitchen to yours, enjoy this salad!
Here are the tools that I used:

I’ve recently learned that my girls like chickpeas in any form. I used to think it was just Roasted Masala Chickpeas that they gobbled down, but I’ve been paying attention and I’m glad I have! Watching both of them gobble down this stew was amazing. They are one of the few girls who also love to eat spinach in any form, cooked or uncooked (I feel blessed) so I knew I was going to use it to give some green to this dish!

I’m totally adding this to my weeknight meal list as it took me only 20 minutes to pull together! I got the couscous started on the side and takes only 15 minutes to make!

Can you tell I’m ready for the autumn season to begin? I’ve had a fun summer enjoying the hot weather but between the smoke from all the fires and a broken AC during the multiple heat waves, I am looking forward to the end of the year. Hot stews are just the thing to warm you up during the cold months and this recipe is a great one where you get to spend more time enjoying the food than making it!


Try it out and let me know what you think. Tag me on Instagram @bitofspice146 and use the #bitofspice146 hashtag. I would love to see your versions of my recipes!

From my kitchen to yours, enjoy this delicious stew!

Enchiladas are one of my favorite Mexican meals. What I don’t love is the amount of work and clean up goes into making a good batch of enchiladas. Making the filling, rolling the enchiladas, and the baking sometimes feels like too much work. And I don’t always have an hour or more to dedicate on a weeknight when I am craving enchiladas. Let’s be honest… I don’t think anyone does.

These Skinny Skillet Veggie Enchiladas satisfy my cravings for enchiladas without the fuss. I can make them in less than 30 minutes (yep!) and the only dishes I have to clean are my chopping board and skillet! Literally made it super easy!
You can work ahead for these and have the veggies chopped up to save time but really, it’s not that time consuming. Speaking of veggies, of course I added a rainbow of them. Yellow squash, green zucchini, red bell peppers, purple onions, corn, and poblano peppers!
If you want to add meat, a quick shortcut is to add in shredded rotisserie chicken. Cut down the amount of beans by half or increase the amount of enchilada sauce by another 1/4 cup to avoid having a dry dish.

Make sure you are using an oven safe skillet. Here is the one I like to use. You only need to pop the skillet in the oven for 5 minutes so the cheese can melt and get a golden color.
For spices, I used smoked paprika, cayenne pepper, chipotle powder and a little ancho chili powder. I know it seems like a lot, but a little of all of them really helps create a depth of flavor.
Serve it with some Mango Pico and Guacamole to add the finishing touches.

From my kitchen to yours, enjoy this delicious meal!
The first couple of days back to school reminded me of how I felt when I had my kids. I thought I was prepared but you never are. So this weekend, I’m working on some meal prepping and planning so that I can save time and focus on work and the girls’ school time. Continue reading “Meal Planning Ideas”

*This is an ad post.
All I can say is that things are getting crazier! My first born is starting Kindergarten tomorrow and though it’s going to be different because she’s going to be upstairs in her room instead of at a new school with new friends, I’m still an emotional wreck! I just can’t believe she’s grown so much! Where’s my baby that I brought home from the hospital? I have a 5 year old now!

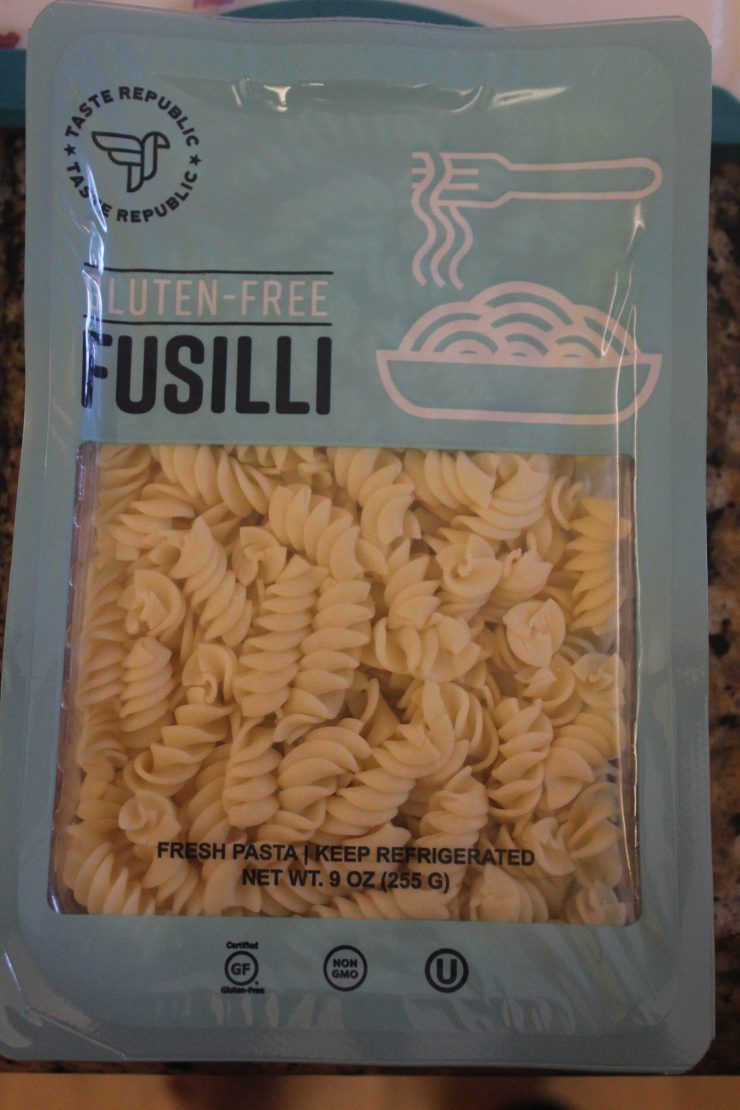
Let’s talk food so I don’t have to think about that… for now. This dish actually does take 15 minutes to make. No joke. How? Because I use Taste Republic‘s gluten free, fresh fusili pasta. The more I try their fresh pastas, the more I’m loving them. So far, the cauliflower linguini, tortellini, and now the fusili have been on point! Even better, because it is fresh pasta, it takes 3 minutes to cook!
Once upon a time, the girls would eat nothing but red sauce with their pasta. Then it went to green (pesto). Then brown butter. We are now back to the red sauce which I am thankful for because this masala pasta uses marinara sauce combined with spices to give it an Indian twist.

Here are some ingredients that are key to this pasta:
Taste Republic Gluten Free Fusili – fresh pasta that is great with taste and time!
Frozen Mixed Vegetables – this is my first hack to make this dish in under 15 minutes.
Favorite Marinara Sauce – I use whatever jar I have opened in my fridge and it works perfect
Indian spices: cayenne pepper, garam masala, cumin powder, coriander powder – this give the pasta additional depth of flavor. Add just enough to give it a hint not take over the dish!
This fusion dish is amazing because of the mix of flavors and how quickly you can put it together. Try it out and bring a little of India and a little of Italy to your home.

From our kitchen to yours, I hope you enjoy this 15 Minute Masala Pasta!

I’m a firm believer in easy meals that are healthy and don’t take much of my time. This Sausage & Zucchini Linguine is just that. It literally took me 15 minutes to make (with Aishani in the kitchen “helping” me) and was loved by everyone.

Here are a few things I like about this pasta dish:


Taste Republic has their cauliflower linguine in most grocery stores so go get a pack! (This is not a paid ad, I just love their pasta).

From my kitchen to yours, enjoy this fun and easy meal!

When Sanaya, my eldest, was about 3 years old, we had gone to Pankaj’s cousin’s house for a play date. Sanaya and her cousin Aarya are besties. They’re only 2 months apart in age and our families have gone through the journey of parenting together since we were pregnant.
Anyways, this story is from a time when Sanaya was very picky about food, especially Indian food. Though I feel like in her short life, she’s either been picky or a proper foodie. Kids!

Yum
My sister-in-law, Aarya’s mother had made a black eyed peas curry. I remember growing up my mom making this often so I got excited but nervous also. Will Saanu eat it? Will she like it? I’m hoping she likes it because I’m really trying to get the girls to have an appreciation for Indian food.

Surprisingly, and luckily, she loved it and for once, ate most of her food without a fuss. I felt like I found a magical key. Since then, this is one recipe I make often for the girls, especially when I’m in a pinch as it takes less than 30 minutes to make.
These black eyed peas are perfect for a weeknight meal. Not only are they delicious and quick to make, they are also rich in fiber, protein and non-dairy calcium.

Notes:
I soak them at the beginning of meal prep. If you don’t want to soak them, simply increase the cook time from 12 minutes to 20.
You can store any leftovers in the fridge for up to 3-4 days.
For Stovetop: Soak black eyed peas for at least 1 hour. Then boil them in 4 cups of water for 45 minutes. Drain and add to spices as indicated in step 5. Add only 1 c water and cook for an additional 15 minutes.
For Slow Cooker: Follow directions below and cook on low for 6 hours.
From my kitchen to yours, I hope you enjoy this Dal (Lentil)!
Ingredients:
1 c dried black eyed peas, soaked
1 onion, chopped
2 tomatoes, chopped
4 garlic cloves, minced
1″ ginger knob, grated
1 bay leaf
1 tsp cayenne pepper
½ tsp turmeric
2 tsp coriander powder
1 tsp garam masala
1 tsp salt
2 c water for cooking
1 Tbsp lemon juice
1 Tbsp olive oil
1 tsp cumin seeds
½ tsp hing (asafoetida)
Directions:
1. Set Instant pot to saute mode. Add oil and let heat.
2. Add cumin seeds and hing.
3. When the cumin seeds start to splutter, add in onions, ginger and garlic. Saute for 3-5 minutes, until the onions are tender and translucent.
4. Add in the tomatoes and spices and cook for 3-5 minutes, or until the oil starts separating from the tomatoes.
5. Drain the water from the black eyed peas and add to the instant pot. Add the 2 c water and mix well.
6. Cover instant pot and set vent to sealing postion.
7. Change setting to manual/pressure cook mode and set timer for 12 minutes.
8. When the timer goes off, let pressure release naturally for 10 minutes before releasing the remaining pressure.
9. Add lemon juice and give a quick stir before serving.
Serve with Naan or Rice.

There’s no wrong way to make a quesadilla. It’s one of those foods that can be served as a quick weeknight meal, an after school snack, bite sized as a party app; filled with just cheese, grilled veggies, or shredded meat! The possibilities are endless.
Continue reading “The Best Veggie Quesadillas”

A quick and easy weeknight recipe that tastes good and doesn’t require any effort – sounds like something I can go for all the time. I’m not a fish expert by any means but I like to experiment whenever I can. Here’s one of the simplest but tastiest (according to the husband) salmon I’ve made.
I got a 1lb wild salmon filet from the market (you can ask your butcher to take off the skin – I’ll admit, I hate doing that!)
Heat the oven to 400°F. In a pan, line foil so it overflows about 2 inches on all sides.
Add the salmon, drizzle olive oil, salt and pepper on both sides.
Sprinkle finely chopped rosemary and thyme on the top.

Cover with thinly sliced lemons

Fold two of the sides over to make a handle. Then fold over each of the other two sides so that none of the steam or liquid seeps out when it’s baking.

Bake in the oven for 20 minutes. When you pull it out, poke a couple of holes in to let the steam out before opening the foil completely. Portion out into two servings and serve with rice and your favorite veggies!
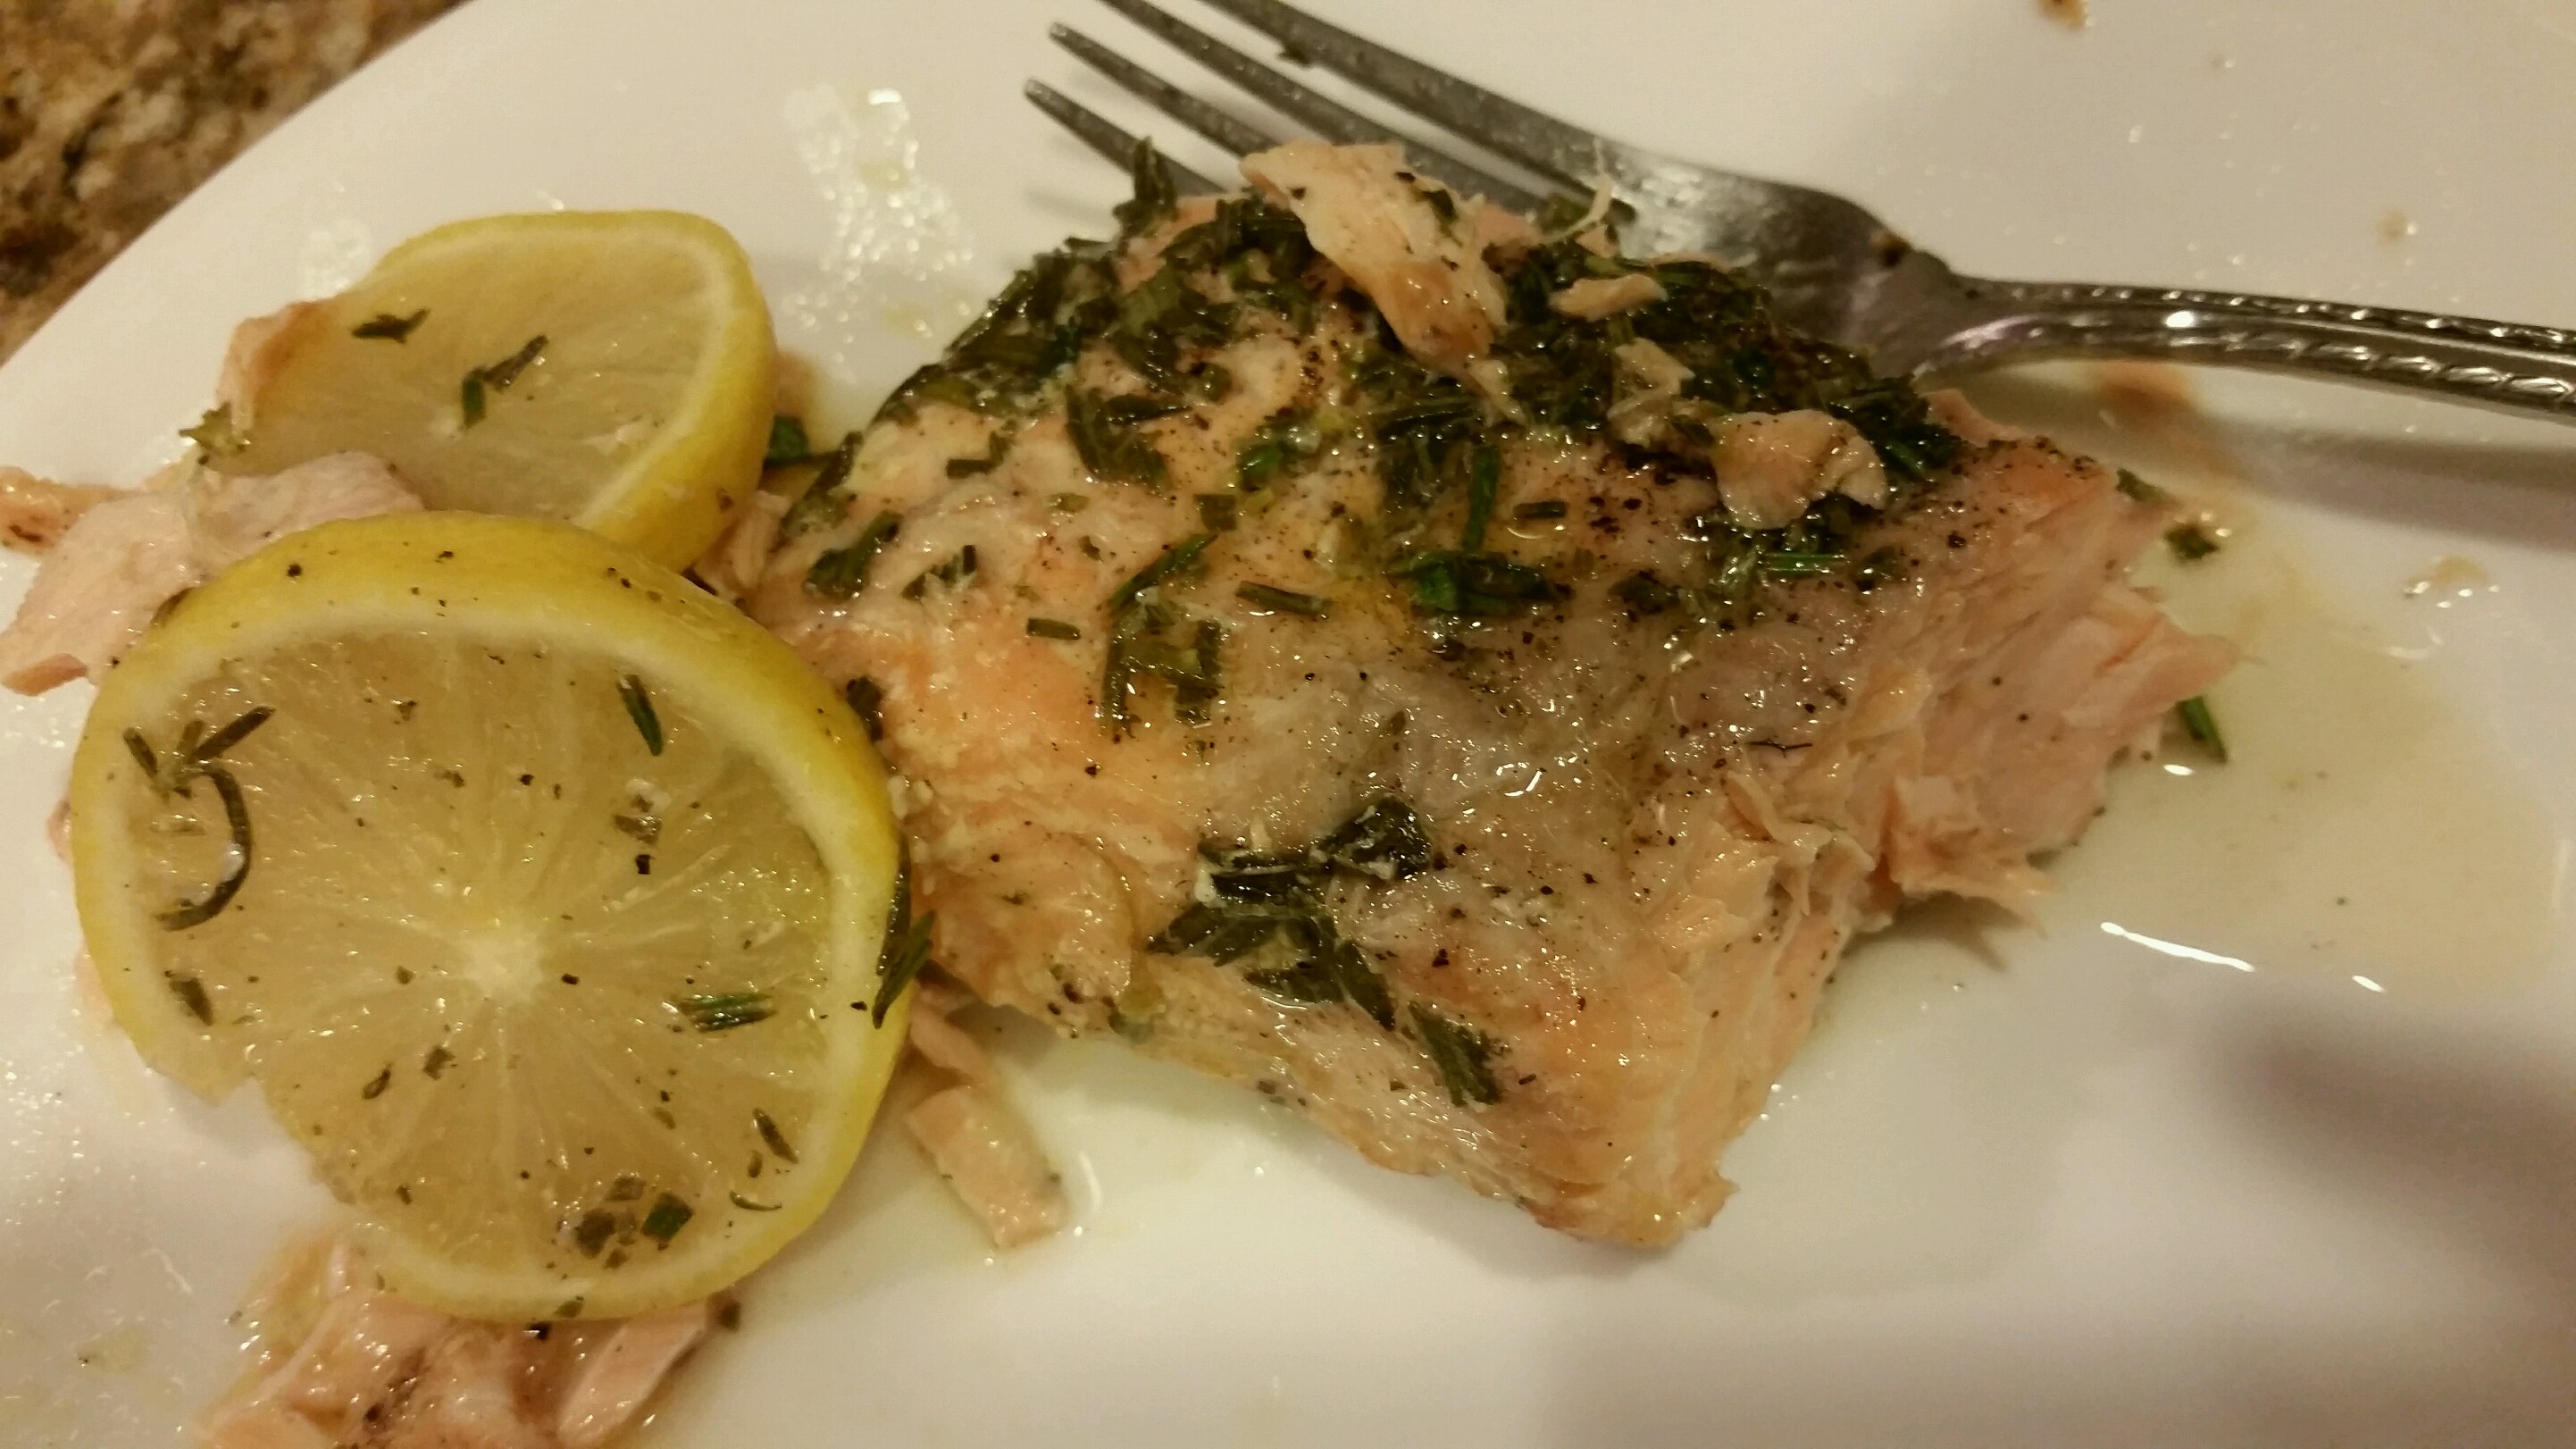
Makes 2 servings so it’s perfect for a date night!
Ingredients:
1lb salmon filet
1Tbsp finely chopped rosemary
1Tbsp finely chopped thyme
1/2 lemon, thinly sliced
1Tbsp olive oil
Salt to taste
Pepper to taste
Instructions:
Heat the oven to 400°F. In a pan, line foil so it overflows about 2 inches on all sides.
Add the salmon, drizzle olive oil, salt and pepper on both sides.
Sprinkle finely chopped rosemary and thyme on the top.
Cover with thinly sliced lemons
Fold two of the sides over to make a handle. Then fold over each of the other two sides so that none of the steam or liquid seeps out when it’s baking.
Bake in the oven for 20 minutes. When you pull it out, poke a couple of holes in to let the steam out before opening the foil completely. Portion out into two servings and serve with rice and your favorite veggies!


